Wedding Seating Plan: Tips & Templates
Key Takeaways
- Start the seating plan 4-6 weeks before the wedding when RSVPs are in — not before
- Round tables of 8-10 are the most flexible format and work in almost every venue
- Seat people who'll enjoy each other's company, not by obligation — friends with friends, not by family hierarchy alone
- The top table doesn't have to be traditional — a sweetheart table (just the couple) avoids awkward family politics
- Use sticky notes on a large sheet of paper, not a digital tool, for your first draft — it's faster to move people around
The seating plan is the task every couple dreads. It combines logistics, diplomacy, family politics, and the nagging fear that you’ll accidentally seat your mum next to her ex-husband’s new wife.
But it doesn’t need to be painful. This guide gives you a practical system, not just vague advice.
When to start
Not yet. Don’t start the seating plan until your RSVP deadline has passed and you have a confirmed guest count. Starting earlier means constant revisions as people accept, decline, and change their plus-one plans.
| When | What to Do |
|---|---|
| 8 weeks before | Send RSVP deadline reminder to non-responders |
| 6 weeks before | Chase remaining RSVPs, finalise guest count |
| 4-5 weeks before | Start the seating plan |
| 2-3 weeks before | Finalise and send to venue, caterer, and stationer |
| 1 week before | Make any last-minute changes for late dropouts |
Table shapes and sizes
Your venue dictates the options. Here’s what each shape offers:
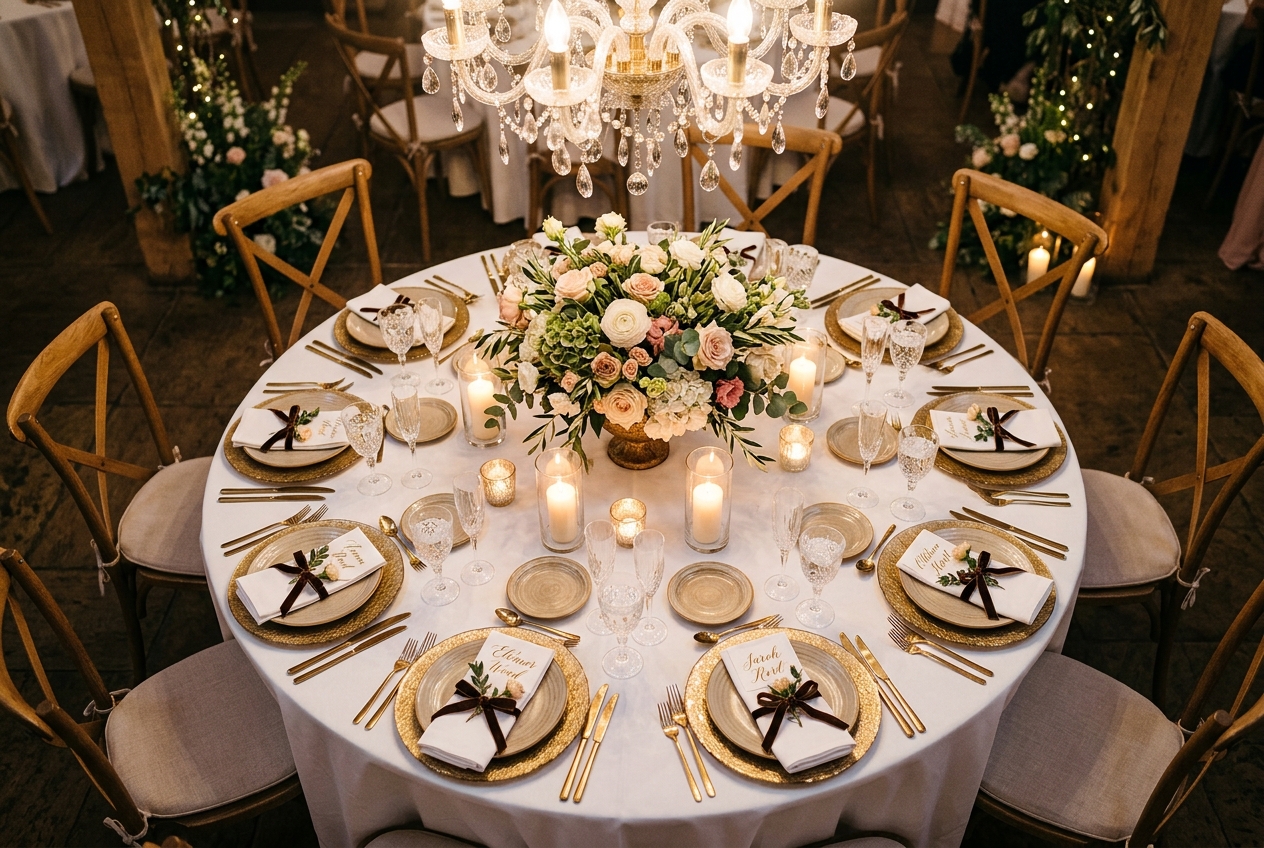
Round tables (most popular)
| Table Size | Guests | Spacing |
|---|---|---|
| 5ft (150cm) round | 8 | Comfortable |
| 5ft 6in (167cm) round | 8-10 | Standard |
| 6ft (180cm) round | 10-12 | Tight |
Pros: Everyone can see and talk to everyone at the table. Groups mix naturally. Flexible — works in any room shape. Cons: Take up more floor space than long tables. Centrepieces can block sightlines if too tall.
Long banquet tables
Pros: Dramatic and communal. Everyone feels connected. Great for rustic and barn venues. Fewer centrepieces needed (one long garland vs multiple arrangements). Cons: Guests can only talk to the 2-3 people nearest them. Conversation doesn’t cross the width of a banquet table. Difficult for odd numbers.
Allow 60cm of table space per guest. A 3m table seats 10 (5 per side). A 6m table seats 20.
Trestle tables
Standard rectangular tables seating 6-8 per table. Common in marquees and village halls.
Pros: Cheap, stackable, flexible layout. Cons: Functional, not beautiful — cover with linen and centrepieces.
Mix of shapes
Many venues offer a combination — one long top table and round tables for guests, or a U-shape top table with rounds. Ask your venue what they have and what configurations work in the space.
The top table
The top table is the most politically loaded part of the seating plan. Traditional format:
Best man’s partner — Best man — Groom’s mum — Groom’s dad — Bride — Groom — Bride’s mum — Bride’s dad — Maid of honour — Maid of honour’s partner
This works if both sets of parents are together and everyone gets along. It falls apart with:
- Divorced parents
- Step-parents
- Single parents
- Same-sex couples (whose parents go where?)
- Widowed parents
- Family members who don’t speak to each other
Modern alternatives
Sweetheart table: Just the couple. Everyone else at regular tables. Eliminates all top table politics.
Family table: Couple + both sets of parents (and step-parents if applicable). No wedding party.
Friends table: Couple + their closest friends (best man, maid of honour, and partners). Parents at their own family tables.
No designated top table: Couple sit at a regular table, just like everyone else.
Choose whatever causes the least drama. The seating plan exists to make people comfortable, not to enforce a hierarchy.
How to plan it
Step 1: List your guests by group
Write out every confirmed guest and assign them to a group:
- Bride’s family
- Groom’s family
- Bride’s friends (uni, school, work — sub-group if needed)
- Groom’s friends (same)
- Mutual friends
- Parents’ friends
- Work colleagues
- Neighbours
- Plus-ones and partners
Step 2: Identify constraints
Before placing anyone, note:
- Who must sit together? (Couples, families with children)
- Who must NOT sit together? (Exes, feuding relatives, people with history)
- Who needs accessibility? (Wheelchair users, hearing-impaired guests near speakers)
- Who has children? (Seat families near exits for easy escape, away from the band/DJ)
- Who won’t know anyone? (Plus-ones, distant relatives — don’t isolate them)
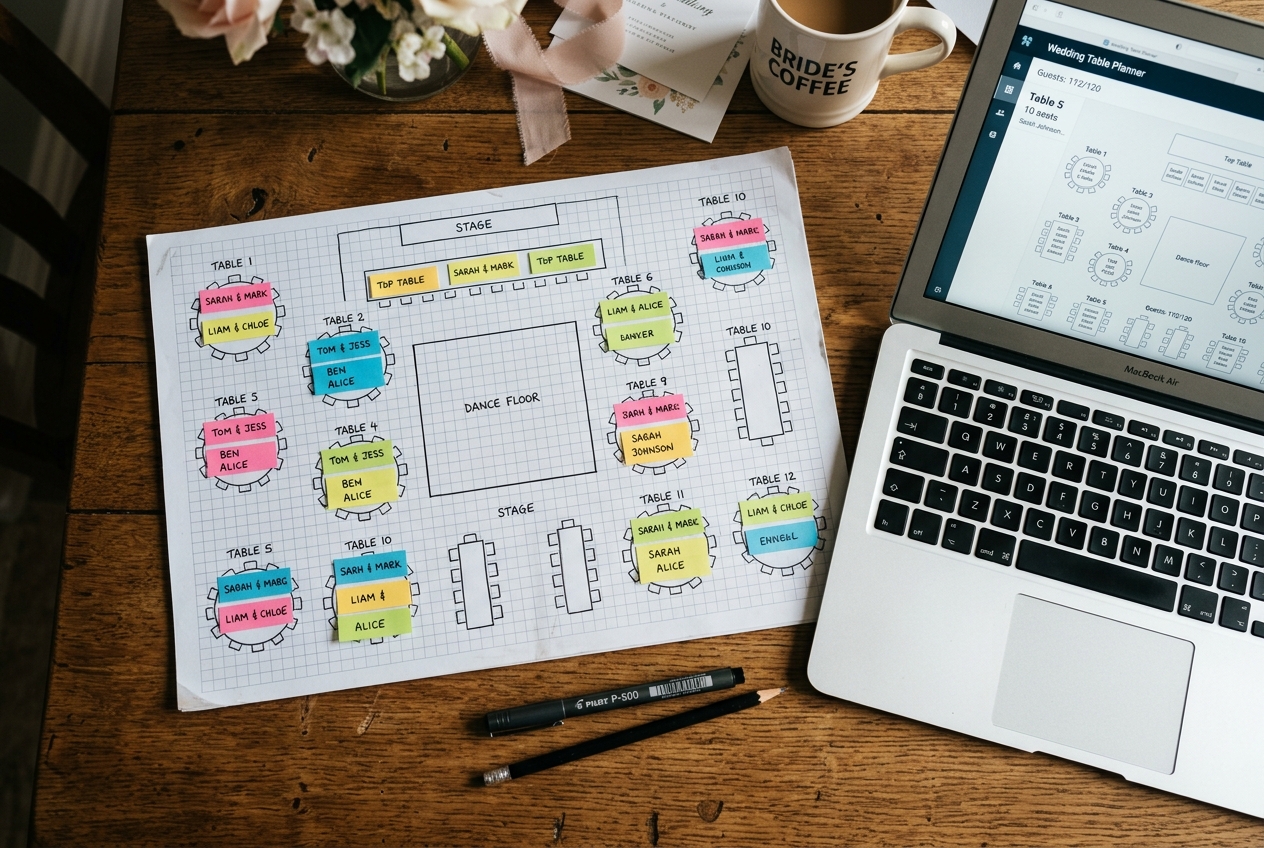
Step 3: Use sticky notes on paper
Get a large piece of paper. Draw your table layout. Write each guest name on a small sticky note. Arrange and rearrange until it works.
This is genuinely faster than any app for the first draft. Digital tools are better for the final version once you’ve worked out the groups.
Step 4: Check the dynamics
For each table, ask:
- Will these people have enough in common to sustain a 2-hour conversation?
- Is there at least one confident/sociable person at each table to keep things moving?
- Are any couples separated? (Never do this — it’s a wedding, not a team-building exercise)
- Are any lone plus-ones stranded at a table where they know nobody?
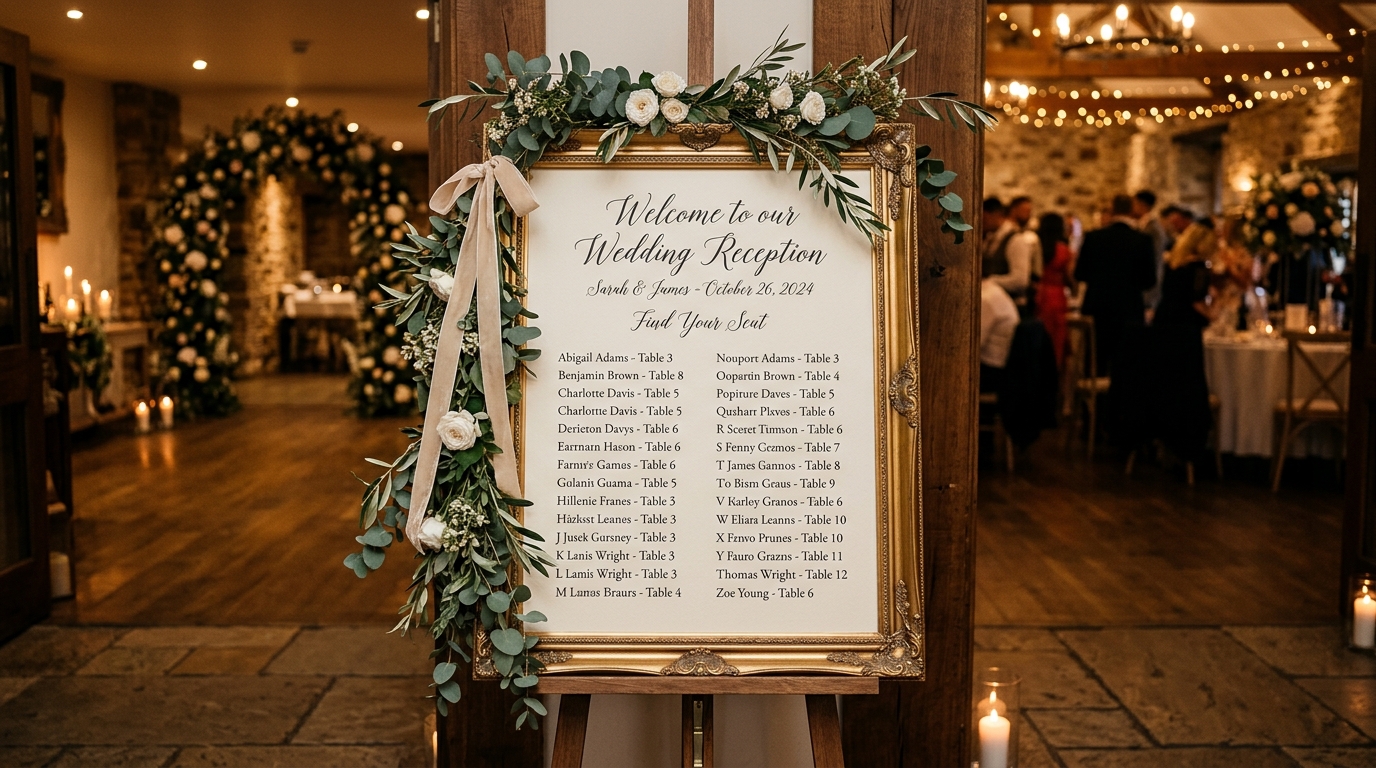
Step 5: Finalise and share
Once confirmed, create the final plan in a digital format. Options:
- A printed seating chart for the venue entrance (most common)
- Individual place cards at each setting
- Table cards (each guest finds their table number on a display, then chooses their seat at that table)
Send the final plan to your venue (for table setup), caterer (for dietary placement), and stationer (for place cards) at least 2 weeks before.
Common mistakes
Starting too early. Don’t begin until RSVPs are in. You’ll redo it three times.
Treating it as a solo project. Do the first draft alone, but review with your partner. They’ll know dynamics in their family and friend group that you don’t.
Obligatory seating. Don’t seat your mum’s work friend at a table of 20-somethings out of obligation. Seat them with people they’ll enjoy.
Ignoring plus-ones. A plus-one who knows nobody at their table will have a miserable time. Seat them at a table with at least one friendly, sociable group.
Tables of exes. Check for ex-partners. Then check again. Then ask your partner to check.
Odd numbers. Tables of 7 or 9 work fine — you don’t need exactly 8 or 10 at every table. But avoid tables of 5 or fewer (they feel empty) or tables of 11+ (too cramped).
Digital seating plan tools
If you prefer a digital approach after the sticky-note draft:
- TopTablePlanner.com — free, UK-based, drag-and-drop
- Bridebook — built into their planning tools
- Canva — for creating the final printed display
- Google Sheets — a simple spreadsheet works surprisingly well
Further reading
- Wedding Day Timeline — when the seating plan fits in the schedule
- Wedding Catering: Sit-Down vs Buffet — table setup depends on the format
Frequently Asked Questions
When should I start the seating plan?
Start 4-6 weeks before the wedding, after the RSVP deadline has passed and you know your final guest count. Starting earlier is frustrating because numbers change constantly. Your venue will need the final plan 1-2 weeks before the wedding to set up tables.
Do I have to have a top table?
No. The traditional top table (bride, groom, parents, best man, maid of honour) is optional. Many couples choose a sweetheart table (just the two of them), a family table (couple plus both sets of parents), or no top table at all (couple sit at a regular table with close friends). Do whatever avoids family tension.
How many people should sit at each table?
Round tables: 8-10 guests (8 is comfortable, 10 is a squeeze). Long banquet tables: as many as the table length allows, with 60cm per person. Trestle tables: 6-8 per side. Your venue will confirm what their tables accommodate.
Should I separate friends and family?
Not strictly. The old rule of 'bride's side and groom's side' is outdated. Instead, seat people who'll have good conversations together. If your uni friends and the groom's work friends are similar ages with similar interests, mix them. If elderly relatives will be more comfortable with family, seat them together.