DIY Wedding Decorations That Look Pro
Key Takeaways
- The best DIY decorations are simple things done well — not complicated crafts that look homemade
- Greenery, candles, and fabric are the three cheapest ways to transform a venue
- Start 3-4 months before and do a test run of every element — don't leave anything untested for the day
- Delegate setup to a team of 3-4 trusted friends with a detailed plan and photos of the finished look
- Know when to DIY and when to hire — complex flower arrangements and lighting are better left to professionals
DIY wedding decorations save money — but only if they actually look good. A hand-painted sign that’s wonky, a centrepiece that falls over, or a paper flower that looks like a primary school project won’t save you anything. It’ll just add stress.
This guide focuses on DIY projects that genuinely look professional, even if you’ve never crafted anything in your life.
The golden rule
Simple things done well beat complicated things done badly. A row of candles in glass jars with a sprig of eucalyptus looks elegant. A hand-sewn bunting banner with uneven stitching looks homemade. Choose projects that are within your skill level and execute them cleanly.
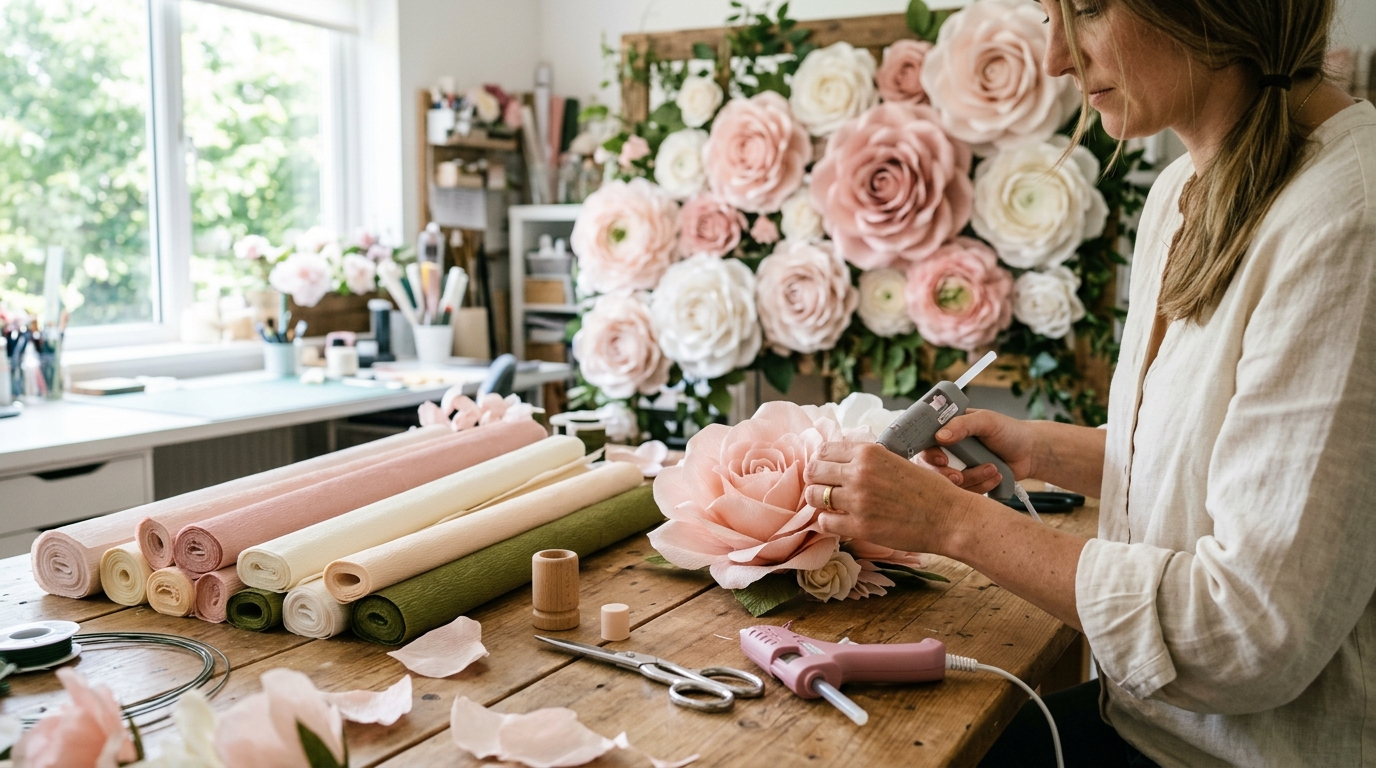
Table centrepieces
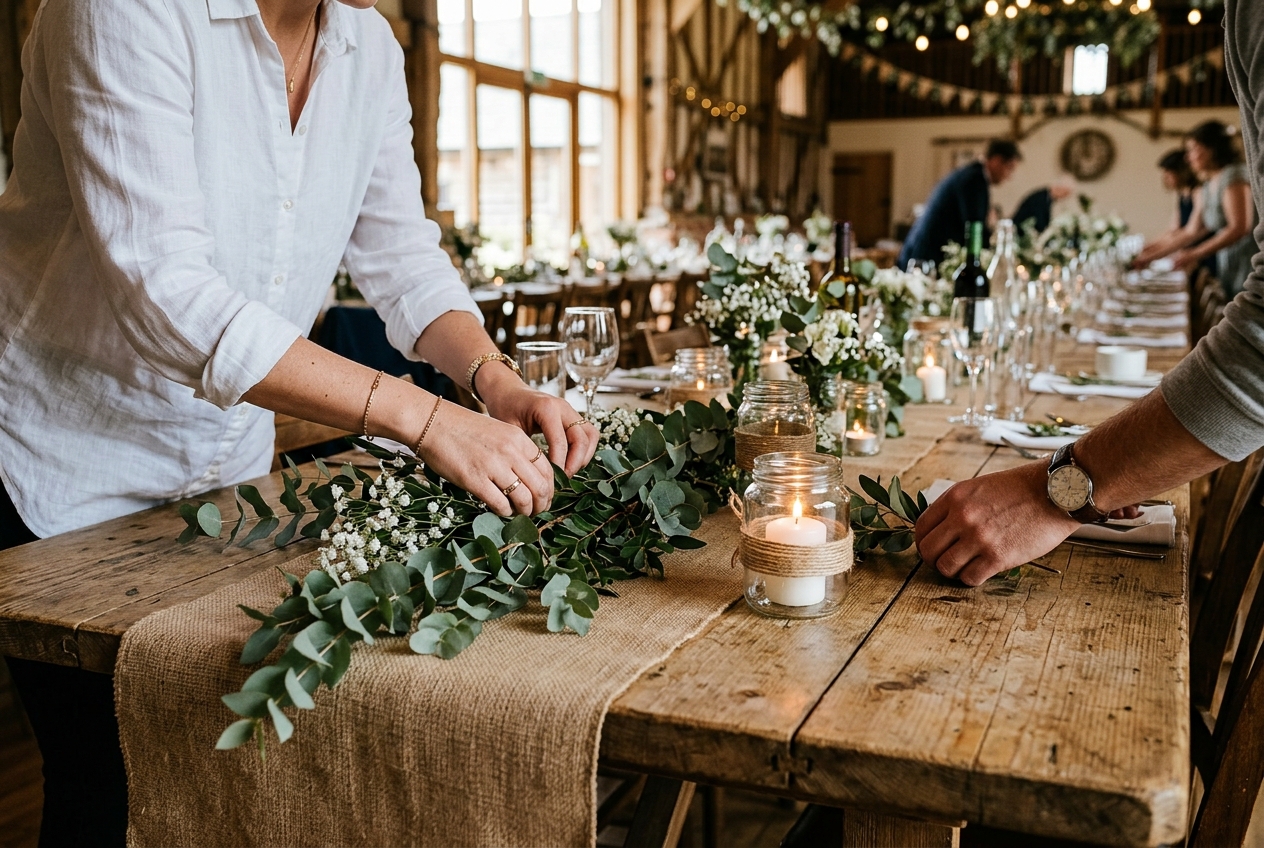
Greenery runner (£2-4 per table)
What you need: Eucalyptus branches (£10-15 per large bunch, each covers 2-3 tables), ivy, or ruscus. Scatter along the centre of the table with candles between.
Why it works: Looks expensive, takes 10 minutes per table, and costs a fraction of floral centrepieces. Fresh eucalyptus smells beautiful and lasts 5+ days out of water.
Where to buy: Wholesale flower markets (New Covent Garden in London, or your local wholesale market), online wholesalers, or even supermarket bouquets for the greenery.
Candle clusters (£3-6 per table)
What you need: Mixed-height pillar candles, tea lights in glass holders, and a mirror tile or wooden slice as a base.
How to do it: Group 3-5 candles of different heights on a base. Add a few sprigs of greenery around the edges. Done.
Where to buy: IKEA (cheapest candles), Amazon (mirror tiles, wooden slices), TK Maxx (decorative holders).
Fire safety: Check with your venue. Many ban open flames. Battery-operated LED candles are a safe alternative and look convincing in a dim room.
Bud vases with single stems (£1-3 per table)
What you need: 3-5 small glass bottles or bud vases per table, one flower stem in each.
Why it works: Minimalist, modern, and incredibly cheap. Supermarket roses (£5 for 10 stems) fill 2-3 tables. Mixed wildflowers from a market cost even less.
Lanterns with candles (£4-8 per table)
What you need: Hurricane lanterns or glass lanterns (hire or buy), pillar candle, greenery around the base.
Where to hire: Wedding decoration hire companies rent lanterns for £2-5 each. Buying in bulk from Amazon or IKEA costs £5-10 each.
Signage
Welcome sign (£10-30)
Option 1: Hand-painted wooden sign. Buy a planed wooden board from a timber merchant (£5-10). Sand it, stain it, and paint your text in white acrylic using a stencil or freehand. Practice on scrap wood first.
Option 2: Printed poster in a frame. Design in Canva (free), print at A2 or A1 on quality card (£5-15 at a print shop), put in a charity shop frame (£3-10).
Option 3: Chalkboard. Buy or hire a large chalkboard, use a chalk marker (not regular chalk — it smudges). Chalk markers give clean, readable lines.
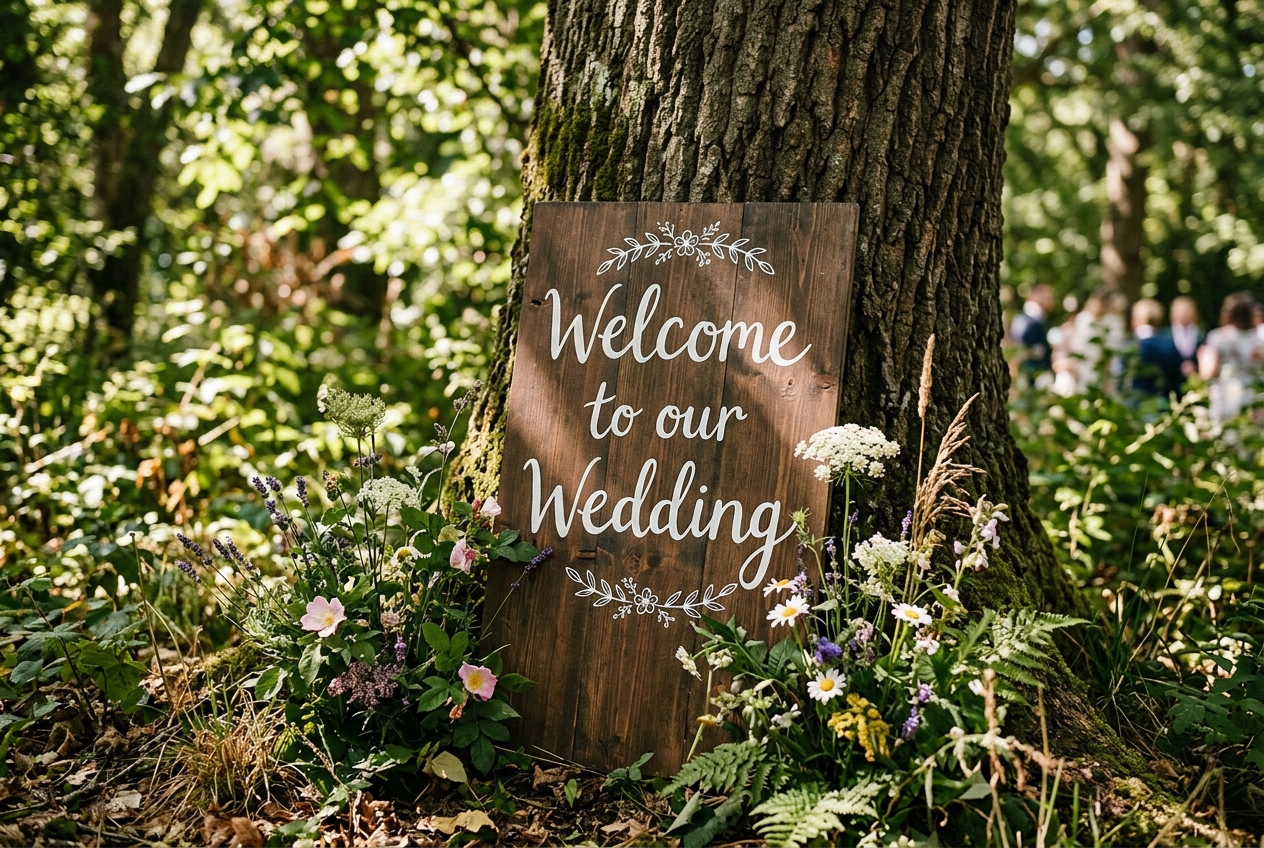
Table numbers (£0.50-2 per table)
- Printed card in a clip holder: Design in Canva, print on thick card, clip into a wire photo holder
- Numbered wine bottles: Save wine bottles, spray-paint them one colour, add a vinyl number
- Framed numbers: Print numbers on nice paper, put in small matching frames from a charity shop
Order of service boards
A large board at the ceremony entrance listing the running order. Design in Canva, print at A1 or A2, frame it. Cheaper than printing individual order-of-service booklets for every guest.
Backdrops
Fabric draping (£20-50)
Drape lengths of voile, muslin, or chiffon from a frame, beam, or between two posts. Creates a soft, romantic backdrop for the ceremony, the cake table, or the photo area.
Where to buy: eBay and Amazon sell voile fabric from £2-4 per metre. You’ll need 10-20 metres for a backdrop.
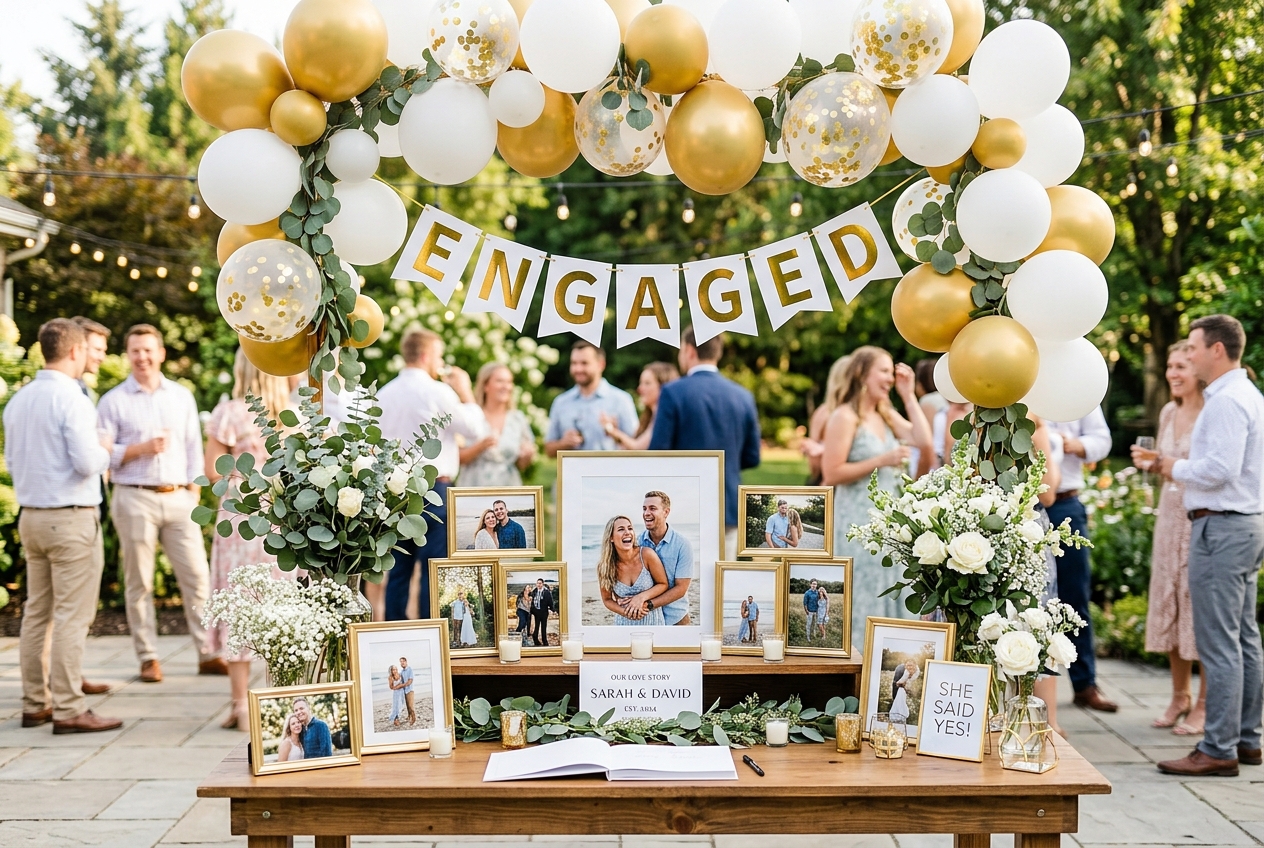
Balloon arch (£30-60)
A balloon arch or garland over the entrance, behind the cake, or as a photo backdrop. Use a balloon strip (Amazon, £5) to connect latex balloons without helium.
Tips: Use 3-4 coordinating colours. Mix balloon sizes (5”, 11”, 16”). Add greenery tucked between balloons. Build it 24-48 hours before — latex balloons last 2-3 days.
Flower wall (£50-100 DIY, vs £300-800 hire)
A frame covered in artificial flowers. Buy a large mesh frame and attach silk flowers with cable ties. Or hire a ready-made flower wall for £150-300 — cheaper than building one from scratch unless you already have the flowers.
Lighting
Festoon lights (£15-40 to buy)
Outdoor festoon lights (warm white, Edison bulbs) transform a garden, marquee, or barn. String them overhead in zigzag lines or from a central point in a starburst pattern.
Buy: Amazon, Lights4Fun, IKEA. £15-40 for 10-20m of commercial-quality festoons.
Fairy lights in jars (£1-2 per jar)
Coil battery-operated fairy lights (£1-2 per strand from Amazon) inside mason jars. Scatter across tables, windowsills, and bar areas. Simple, cheap, and universally flattering.
Candles (the cheapest light of all)
Candles in various holders create more atmosphere than any other single decoration. Mix pillar candles, tea lights, and tapers. Use LED if your venue requires it.
Timeline for DIY decorations
| When | What to Make |
|---|---|
| 3-4 months before | Order supplies, test every project, buy non-perishable items |
| 2-3 months before | Make signage, backdrops, paper flowers, fabric elements |
| 1 month before | Final test setup — lay out one complete table and photograph it |
| 1-2 weeks before | Make place cards, table numbers, and final non-perishable items |
| 2 days before | Buy fresh greenery and flowers |
| Day before | Prepare greenery garlands, assemble candle clusters, pack setup boxes |
| Day of (setup team) | 2-3 hours to set up all decorations per your plan and photos |
What NOT to DIY
Complex flower arrangements. Professional florists make it look easy because they’ve done it thousands of times. Your first attempt will not match their quality. If you want flowers, buy simple supermarket bunches and use single-stem bud vases.
Structural lighting. Uplighting, moving heads, and overhead string lighting in large venues should be installed by a professional or the venue’s own team. It’s too important to the atmosphere to risk.
Anything load-bearing. Hanging installations, suspended centrepieces, and ceiling draping need proper rigging. A falling decoration during the reception is a safety issue and a wedding disaster.
Further reading
- Wedding Centrepiece Ideas — more centrepiece inspiration
- Wedding Favour Ideas — complement your decor with matching favours
- Decorations Suppliers on Weddings Hub
Frequently Asked Questions
How much can I save with DIY wedding decorations?
DIY decorations can save 40-70% compared to hiring a professional stylist. Professional venue styling costs £500-3,000. A DIY approach using wholesale greenery, candles, and rented vases costs £100-500 for a similar look. The savings are biggest on centrepieces, signage, and table styling.
What wedding decorations are easiest to DIY?
Signage (welcome signs, table numbers, order of service boards), candle arrangements, greenery garlands and runners, fabric draping, confetti, and favour presentation are all achievable for beginners. Avoid DIY flower arranging unless you have experience — it's harder than it looks and flowers wilt fast.
How far in advance should I make DIY wedding decorations?
Paper flowers, signage, and non-perishable items: 1-3 months before. Table numbers and place cards: 2-4 weeks before. Anything involving fresh greenery or flowers: 1-2 days before maximum. Do a full test setup 4 weeks before the wedding so you know everything works.
Who sets up DIY wedding decorations on the day?
Not the bride or groom. Appoint a setup team of 3-4 trusted friends or family members. Give them a detailed written plan with photos showing exactly how each table and area should look. Provide a box for each table with everything needed. Allow 2-3 hours for setup.